Unlocking the art of paint removal and surface preparation is a craft that demands precision and expertise. So, in the realm of home improvement and restoration, mastering techniques for stripping and preparing surfaces is paramount. Whether reviving your living space or restoring a historical gem, these methods hold the key to a successful and aesthetically pleasing outcome!
Understanding the paint removal process
Different types of paint and their characteristics
Not all paints are created equal, so you need to be familiar with all the different types, especially if you want to be able to fix a mess left by a bad painting contractor. For instance, latex paint is water-based, dries quickly, and is easy to clean up. On the other hand, oil-based paint is known for its durability and glossy finish but requires more time to dry and more effort for cleanup. Additionally, there’s lead-based paint, which, due to health concerns, is now rarely used. Understanding these paint types and their characteristics is crucial in achieving the desired results in your projects.
Safety precautions and considerations
Safety should always be a top priority when stripping and preparing surfaces. Before diving in, it’s crucial to consider some essential precautions. First, wear appropriate protective gear like goggles, gloves, and a mask to shield yourself from hazards. Secondly, work in a well-ventilated area to minimize fume exposure, especially when using chemical strippers. Properly dispose of waste and used materials, adhering to environmental regulations. Lastly, consider fire safety, as some removal methods involve heat sources. Taking these precautions ensures a safer and more secure environment for yourself and those around you.
Tools and materials needed for paint removal
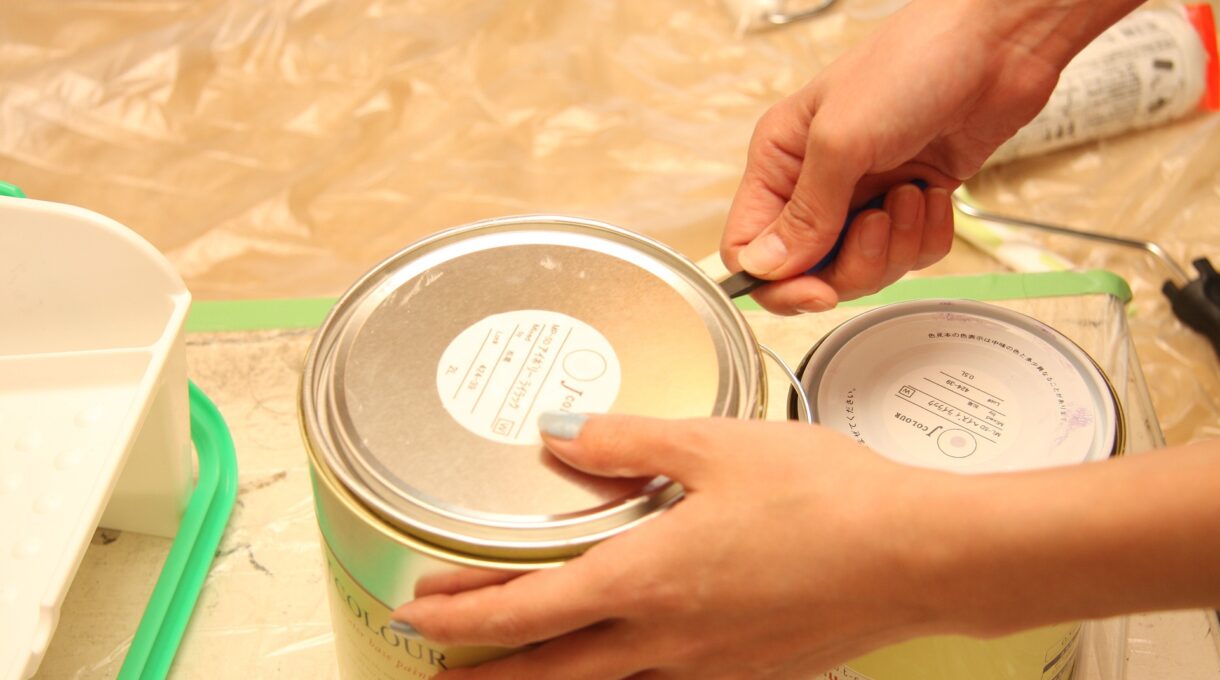
Having the right tools and materials is paramount. You’ll need a variety of items, including scrapers for manual removal, heat guns for heat-based methods, chemical strippers, sandpaper, and abrasives for smoothing surfaces, and pressure washers for certain projects. Each tool has its specific purpose, so ensure you have the appropriate ones for your task. Investing in high-quality tools is also crucial to make the job more efficient and reduce the risk of damage. And, of course, the storage teams from evlmoving.com note that you need to properly take care of and store your tools during whatever projects you’re working on if you want them to stay in usable condition!
Techniques for paint removal
Scraping and manual removal
Scraping and manual removal is a tried-and-true technique, especially handy for precise work on smaller areas. Using a scraper, you can gently and methodically remove layers. This approach is effective and gentle on delicate surfaces, making it a top choice for historical building restoration. Careful handwork can unveil the original charm beneath layers of old paint, preserving the architectural heritage with precision and care. However, remember to wear appropriate protective gear and work patiently to achieve the best damage-free results.
Heat-based methods
Heat-based methods are a game-changer when dealing with larger surfaces or stubborn layers. Using a heat gun, you apply controlled heat to the area, softening it and making it easier to scrape off. This technique is particularly effective for stripping from wood or metal surfaces. One notable advantage is that it minimizes the use of harsh chemicals, making it a more environmentally friendly option. However, caution is essential when using heat guns, as excessive heat can cause damage.
Chemical stripping
Chemical stripping is a potent method for paint removal, particularly useful when dealing with multiple layers or intricate details. Strippers contain chemicals that break down the paint’s bond with the surface, allowing easy removal. This technique is versatile and suitable for various materials, from wood to metal and even masonry. However, it’s crucial to follow safety guidelines when working with chemical paint strippers, including proper ventilation and wearing protective gear. Additionally, disposal of used stripper and residue should be done following environmental regulations.
Sanding and abrasive methods
Sanding and abrasive methods are go-to techniques for achieving a smooth, paint-ready surface. You can remove imperfections and residual paint after stripping using sandpaper or abrasives like sanding sponges. This method is perfect for preparing surfaces that require a flawless finish before applying a new coat. Sanding comes in various grits, with coarser grits used for initial removal and finer grits for a polished finish. Always sand in the direction of the wood grain or surface pattern for the best results. Remember that proper dust control and wearing a mask are essential for safety, as sanding generates fine particles you don’t want to inhale.
Pressure washing
Pressure washing is a powerful technique for exteriors like decks, fences, and siding. This method employs a high-pressure stream of water to dislodge old paint, grime, and other contaminants from surfaces. It’s especially handy for large areas or when dealing with tough-to-remove coatings. However, caution is necessary, as too much pressure can damage the underlying surface.
Preparing the surface for new paint
Cleaning the stripped surface
Cleaning the stripped surface is a critical step in the process. Once the layers are gone, you must ensure the surface is free of residue or contaminants. A thorough cleaning with a mild detergent and water solution is typically sufficient. This step prepares the work area for further treatment and ensures proper adhesion when you’re ready to repaint. Use a scrub brush or sponge to gently clean the area, paying attention to crevices and corners. Rinse thoroughly to remove any detergent residue, and allow the surface to dry completely before proceeding with repairs or applying primer.
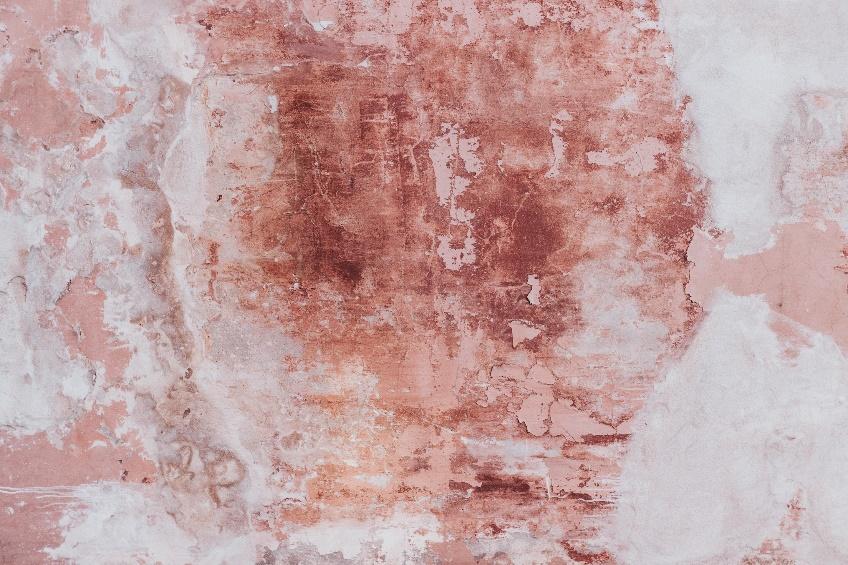
Repairing any surface damage
Repairing any surface damage is a crucial step in the preparation process. After stripping off the old layers, you may encounter cracks, holes, or imperfections that need attention. These flaws can compromise the final finish, so it’s essential to address them properly. Depending on the material, begin by filling cracks and holes with an appropriate filler, such as spackling compound or wood putty. Smooth the filler with a putty knife or sandpaper to create an even surface. Sanding the entire area also seamlessly blends the repaired spots and the rest.
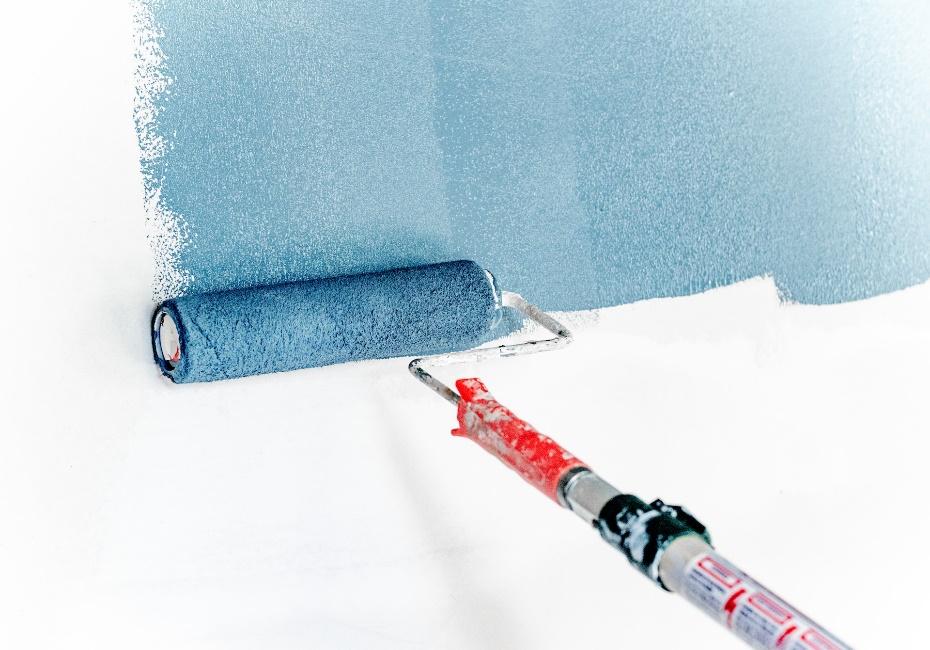
Priming the surface
Priming the wall you’re working on is a pivotal step in the paint preparation process that can significantly improve your painting services. Primer acts as a bonding agent between the surface and the paint, enhancing adhesion and ensuring a uniform finish. It also seals porous surfaces, preventing excessive paint absorption, which can lead to uneven coverage. Additionally, primer can help hide imperfections and create a smooth canvas for your paint, particularly when transitioning from dark to light colors or vice versa. Investing in the right primer for your project type and surface material is essential for achieving professional-looking results that stand the test of time.
Conclusion on Stripping and Preparing Surfaces
As we conclude our exploration of techniques for stripping and preparing surfaces, you’re now equipped with the knowledge and tools to embark on your painting projects with finesse. Whether aiming for a flawless finish, restoring historical charm, or simply refreshing your surroundings, the expertise you’ve gained here will be your guiding light!
It’s difficult to pinpoint the absolute most used method, as the choice often depends on various factors like:
Surface type and material: Different surfaces require different removal methods based on their sensitivity and potential for damage.
Paint type and thickness: The type and number of paint layers influence the difficulty of removal and the most suitable technique.
Project size and complexity: Larger areas or intricate details might favor specific methods based on speed, efficiency, and precision.
Personal preference and experience: Individuals might have personal preferences or prior experiences that influence their method choice.
Scraping and paint removal is what I do.