Brush heads come in many different shapes and sizes. Widths from as little as ½” up to 6” and in flat, oval, round and angled shapes, depending on individual preference and usage.
But the manufacturing process for making the heads is very much the same whatever the individual brush style being produced.
Filament Extrusion
Traditionally, natural pig bristle was the most used material for the filling of paintbrushes. Other materials included horse and cattle hair, but bristle, being flexible but also strong, with excellent paint pick-up and a natural flag to deliver a smooth coat was the ideal choice. Most bristles came from China, but also from Russia and India.
Today, the use of natural bristle has declined sharply due in part to changing breeding practices but mainly because it doesn’t perform as well in modern water-based paints. Today most brushes are made with synthetic filaments using either nylon or polyester bases.
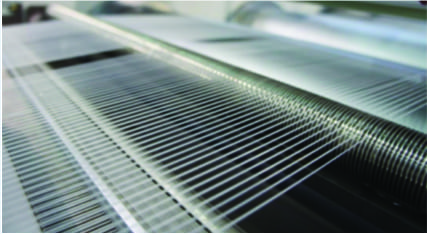
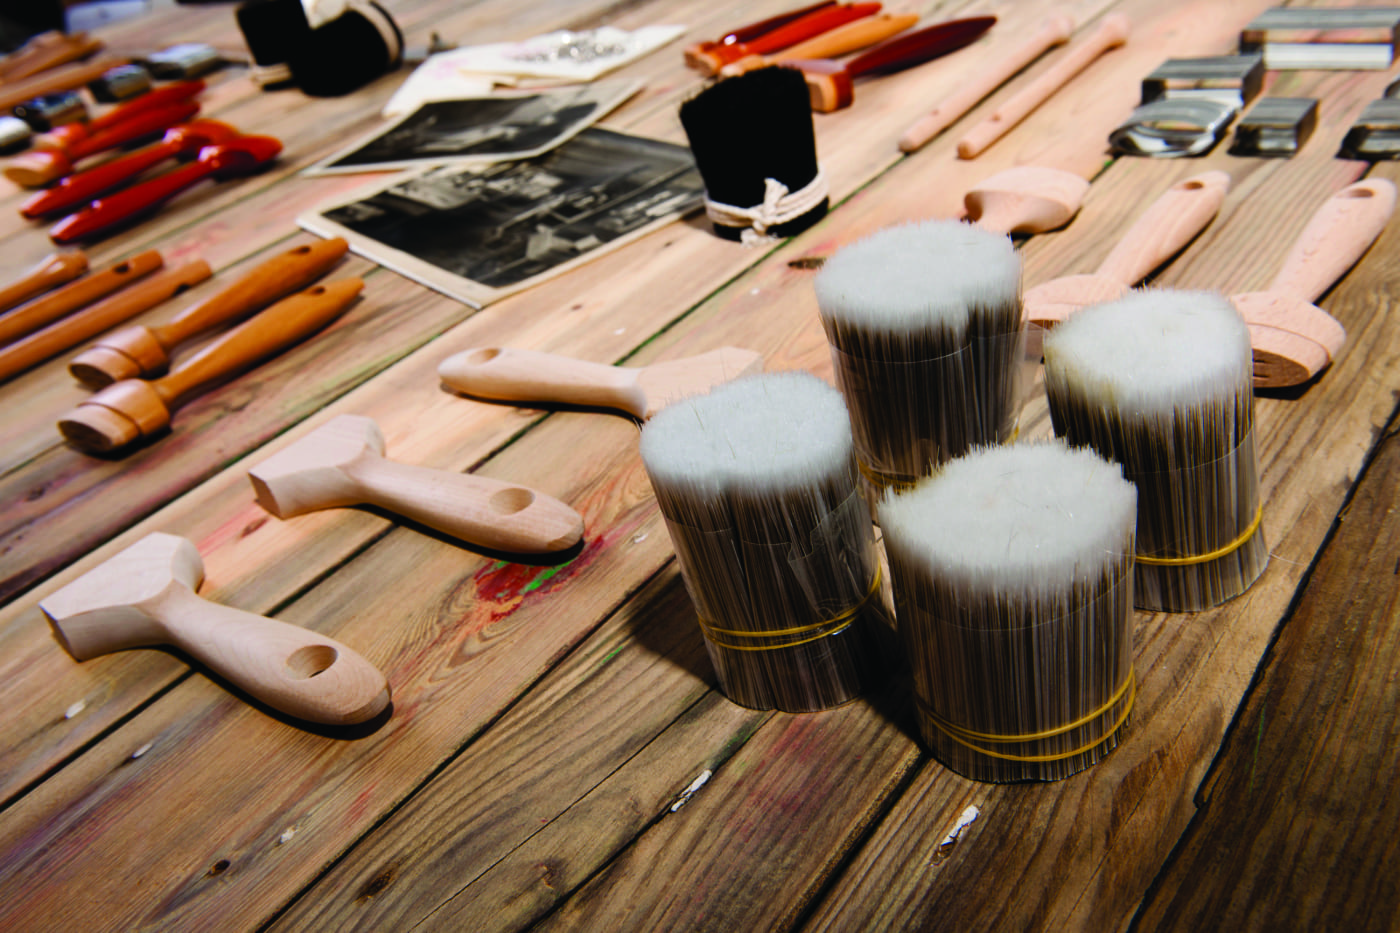
Granules are melted through moulds to make a continuous thread which is pulled along a line of drums and water tanks to stretch the filament to the required diameter without breaking. Once it has been through this process, it is offloaded on spools and heat stabilized. These spools are then cut into hanks and then into bundles depending on the length needed for the brush.
Filament Mixtures
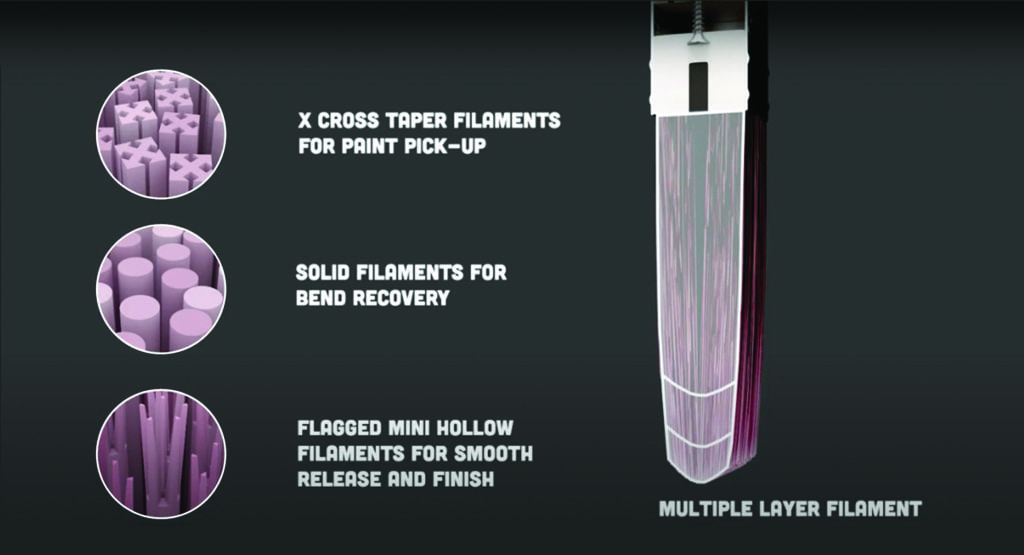
Filaments at this stage are level. To improve the flow of paint from the base to the tip to enable precision painting, they undergo a tapering process. The longer the taper, the more controlled the release of paint and the better the brush maintains its shape.
Filaments are produced in a variety of diameters and polymer mixtures to stiffen or soften the brush depending on its final use for interior or exterior work or the type of paint used. Acrylic paints are usually thick and require stiffer filaments. Oil based paints, being thinner, require softer filaments.
A good brush will typically be made up of three layers of filament, with thicker diameters with more absorbent filament shapes at the base to load up and give strength to the laying off, solid filaments in the middle to give good flexibility and bend recovery, and the longer filaments at the top with a flag to enable a smooth finish.
Making the brush head
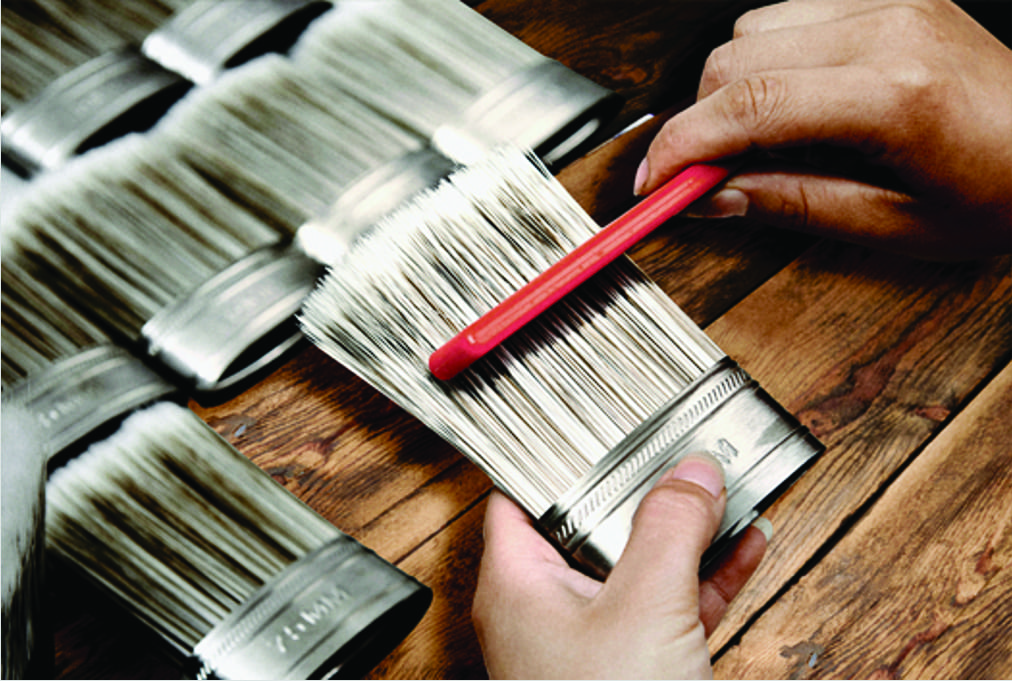
The mixture is inserted into a folded and punched seam stainless steel ferrule and tapped down so that all the filament at the base is level. This is important to ensure all the filament is locked in place during the gluing process. Wedges are then inserted to provide a paint well that acts as a reservoir to increase loading.
Once the wedge is in place, the filaments are pulled up to the required length out, leaving at least enough inside the ferrule to ensure the epoxy holds it in place. The final stage in this part of the process is for the brush head to be combed straight so that the paint will run in a straight line onto the surface to be painted.
The heads are now ready to be sent to the epoxy station to be locked to the ferrules.
Final steps
After gluing, the brush heads are cleaned of loose filaments, and flagged to create finer strands, with these tips being sanded to a very fine point to give a smooth painting finish.
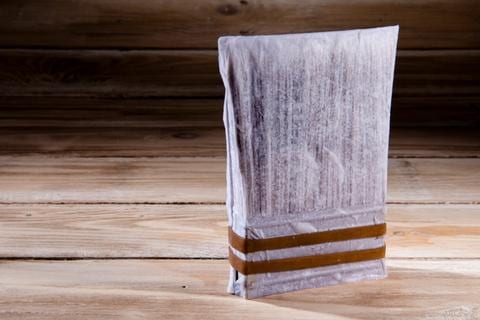
The final stage is for these to be paper wrapped to create a pointed shape to the heads. These are then steamed for up to two hours to create a ”memory” to
the filaments, ensuring that the brush head will retain its shape throughout its lifetime.
The brush heads are now complete and ready for assembly on to handles ready for final finishing.
Contact


What an interesting article! We often don’t give much thought into the very items that we use every day. Really cool, thanks for sharing!